Adapted from original blog post by Cardo Systems
As the crisp air of winter nips at our heels, it’s time for us motorcyclists to think about winterizing our beloved machines. If you intend to park up over winter, it's well advised to prepare your motorcycle for its hibernation.
In this blog post, we’ll guide you through 12 important steps to protect your bike during the colder months. From basic DIY servicing through to the often-forgotten charging of communication systems, let us help you prepare for the next season of road riding - issue free.


Image credit: @cudby for Cardo
Step 1. Start with a plan
Consider how you plan on using your motorbike over the course of the winter season. If you’re an avid rider in a temperate area, you may just keep on riding. If so, the Battery Maintenance part of this blog will still be of interest. But if you’re not a fan of road grit, black ice or the bone-biting cold, then keep reading.
In a perfect world, every rider would know how to maintain their bike. However, if you don’t feel comfortable completing some of these DIY steps, take your bike to a professional. Having a motorcycle mechanic winterize your motorcycle can potentially save you money in future repairs.
Also consider if you need OEM or aftermarket parts to be ordered before you start your DIY winterizing service. Not having a new sump plug crush washer on hand can make a headache out of a simple oil change. If you are unsure, contact your local bike dealer for parts information and ordering help.
With all that in mind, read these 12 steps, and make notes of what parts, consumables, and tools you need. The winterizing process will be easier, and take less time, if you have all the components at hand.
![]()
Image credit: Adapted from rawpixel.com
Step 2. Oil Change
All oils break down over time. Storing your motorcycle with contaminated oil, which can include condensation, can cause corrosion inside your engine. Best practice is to change both the engine oil and oil filter before storage.
Changing your oil and filter is a fairly easy job to do, with many ‘How To’ blogs and videos available online. Check your bike manual or a reputable online oil selector for the correct type and amount of oil you need first, and use the Hiflofiltro online catalogue to find which oil filter will fit your bike.
You can also check and replace the coolant and other fluids if you feel confident. Again, check your bike manual for details.
 Image credit: Hiflofiltro for Motogear
Step 3. Fuel Treatment
There are two ways to prepare your gas tank for winter: empty it or treat the fuel to stop the gas from going bad. There are pro’s and con’s to each. Empty tanks can lead to dried-out seals, and full tanks can place more stress on petcocks. But with precautions, doing either of these methods is arguably better than doing nothing at all.
Fuel stabilizers preserve the quality and properties of gasoline, prevent oxidation and corrosion of mechanical parts, and prevent the formation of deposits in the tank. If you have a fuel injected motorcycle, there’s no way to fully empty the tank easily, so adding a fuel stabilizer to a full tank of new petrol is your best bet. This is also a good option for carburettor motorcycles, with provisions made for petcocks (see below).
The easiest way to use a fuel stabilizer is to fill a jerry can with new gas and add the recommended dosage of stabilizer to it. Carefully fill your bike’s gas tank with this stabilized fuel and run your bike for a short time to distribute the treatment throughout the fuel system. Then top up your fuel tank to the brim to minimise empty air space where condensation and rust may form.
If you are worried about a full tank of gas stressing your bike’s petcock, simply turn the fuel valve to the ‘off’ position* to prevent pressure build-up over winter. Just remember to turn the valve back to ‘on’ before your first springtime ride!
*If your petcock is vacuum operated and only has ‘on’, ‘res’, and ‘prime’ options, any selection but ‘prime’ is fine.
We recommend: IPONE Fuel Stabilizer or Spectro Ethanol Fuel Conditioner

Image credit: IPONE for Motogear
Step 4. Clean, Dry, and Lubricate
Your future self will thank you for removing this season’s dead bugs and road grime before storage.
After a gentle wash (making sure water doesn’t get into your exhaust or air intake), make sure your bike is thoroughly dried. Leaf-blower or air-compressor drying can be way more fun than elbow grease and a chamois, but whichever method you choose, just make sure that all nooks and crannies are moisture-free.
Next, apply wax based polish to the painted parts, and a silicone protectant to any plastic panels. Use an aerosol lubricant on chromed, polished or anodized metal, or any moving bits that aren't brakes or tyres. This will help protect these parts from rust.
Finally, remember to clean and lubricate your motorcycle chain with high quality chain products.
Step 5. Inflate Tyres
You will want to make sure your motorcycle tyres are fully - but not over - inflated. Air pressure will slowly decrease over time if your bike is stored with its wheels on the ground. If it has one, store your bike on its centre stand, otherwise you might want to purchase front and rear bike stands so your tyres aren’t under load all winter long.
If you can’t lift it, be sure to occasionally roll your bike into different tyre positions to prevent settling and flat spots. Use an electric pump to keep them fully inflated all season long.

Image credit: R&G for Motogear
Step 6. Pest Control
It might seem unlikely, but rodents will seek shelter inside exhaust pipes or air intake vents during the cold season. They may also nibble electrical wires, seat covers and foam, and of course, they will defecate everywhere.
Stuff any openings with cloth and securely cover them with tightly fitted plastic bags. It may also pay to sprinkle some rodent traps around your pride and joy – just remember to remove all pest control measures before your first outing!

GIF credit: Motorcyclist Magazine
Step 7. Battery Maintenance
The cold weather can be hard on batteries. Just like a car battery, unless it is used, a motorcycle battery will likely lose power as the months wear on, which can leave you with a dead battery come spring.
The key is to keep the battery connected to a battery tender. A tender (sometimes called a maintainer or smart charger) will only give it juice when it’s needed. In comparison, a basic battery charger will continue to charge the battery no matter how full it is, and could lead to long-term battery damage. And ensure the maintainer you use matches the battery type you have. Using a lead acid battery charger on a lithium battery can be a sure-fire way to wreck the battery!
If you can only store your motorcycle outside, or in a shelter without power, consider disconnecting your battery completely. You can keep it attached it to a battery maintainer anywhere inside that is safe and dry.
If you have a garage with power, consider installing an SAE lead for 24/7 easy access to the battery terminals. An SAE lead allows you to hook up to a battery tender with such ease, it turns battery maintenance into a no-brainer. And when riding, you can use the SAE lead to power additional electronics such as heated apparel or your phone charger.

Image credit: Poweroad for Motogear
Most bikes don’t charge the battery when sitting idle: only normal use (like a 20 minute ride) will restore the juice that the cold start depleted.
A good rule of thumb: If you start it, ride it.
Step 8. Bike Security
No matter where you store your bike, theft protection needs to be a consideration. Storing your bike out of sight in a secure garage, is the first line of defence against potential thieves. From there, the more types of locks you use the better.
A floor anchor provides a fixed anchor point if you don’t already have one available, and a heavy duty chain and lock completes the package. An alarm disc lock is also advisable, with the added benefit you can carry it with you when you next start riding again.
It also pays to regularly check that your security measures haven’t been tampered with, and place your trust in quality locks from the beginning. Investing in bike security is well worth the money.
We recommend: the ultimate ABUS chain and alarm disc lock combination.

Image credit: ABUS for Motogear
Step 9. Cover
No matter where you store your bike, a bike cover is essential. Rain, snow, soggy leaves, or even garage grime, can all contribute to a shoddy-looking bike finish.
As with bike security, the best place to store your bike over winter is in a garage – especially if it is a fancy climate-controlled one! But even then, a breathable bike cover (or spare bedsheet from the linen cupboard) will help protect its surface from accidental scratches, dust or condensation build-up.
If you must store your ride outside, choose an adjustable waterproof cover to ensure you can keep both wind and water out.
We recommend: R&G Bike Covers

Image credit: R&G for Motogear
Step 10. Check WOF and Rego
These are two important details that might catch you out come your first springtime ride!
If you’re definitely not riding your motorcycle over the winter period, it makes sense to put your registration on hold and save yourself some decent coin. You can easily apply for an exemption online or at an NZTA agency. The minimum exemption is 3 months, up to a maximum of 12 months.
Just be aware that you need to apply in advance of your rego expiring, any outstanding registration fees will need to be cleared first, and that your Warrant of Fitness needs to be current when the registration is next updated.
Step 11. Clean Apparel
Like your bike, winterizing your motorcycle gear will pay off in the long run – just ensure you read the care instructions on your garments before cleaning.
Textile apparel can be washed with appropriate product and then sprayed with a waterproofing repellent, leather can be cleaned and conditioned, and helmets can be refreshed and stored for the next riding season. You might even consider replacing your scratched helmet visor and/or pinlock also, in readiness for your first springtime ride.
Whatever you do, ensure your gear is fully dry before storing. Select a storage area that is clean and dry, and utilise a dehumidifier or Damp Rid if you think winter moisture might be a problem. Mildew covered gloves and boots are not fun to deal with – trust us!

Image credit: IPONE for Motogear
Step 12. Maintain Communication Systems
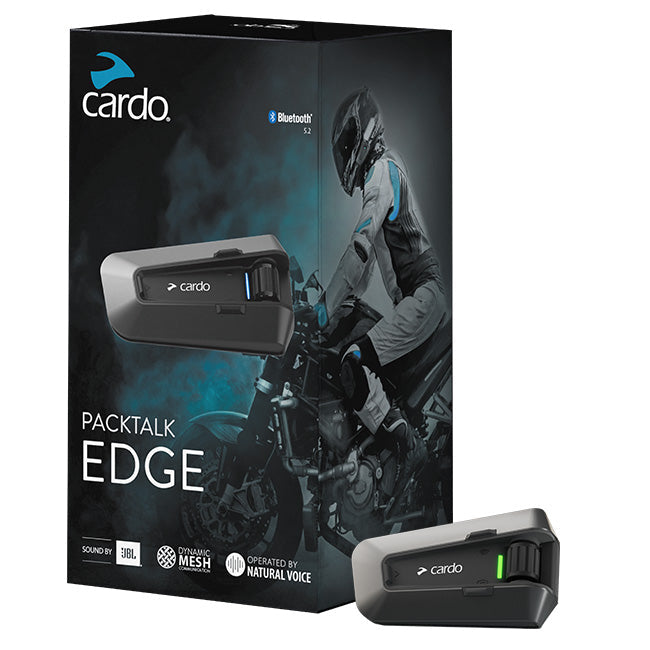
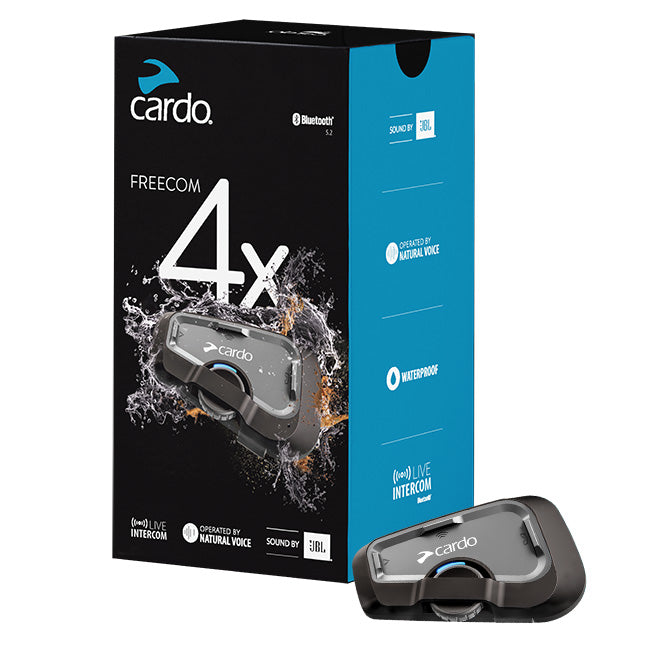
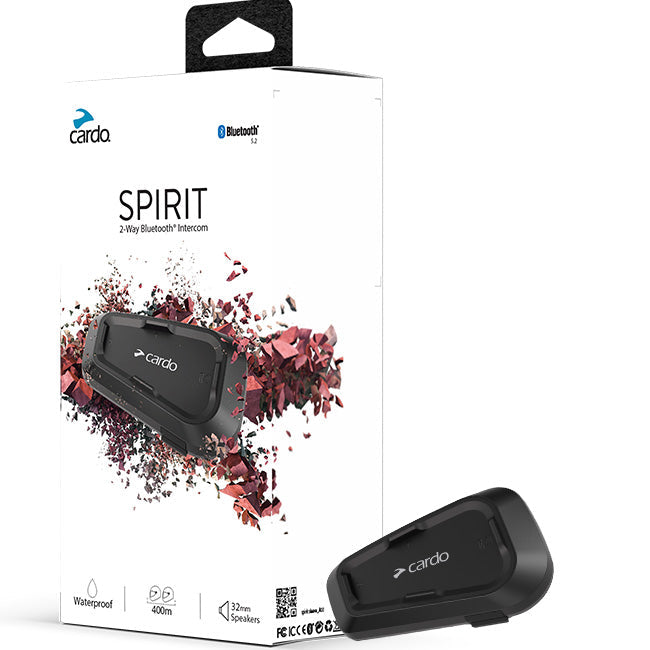
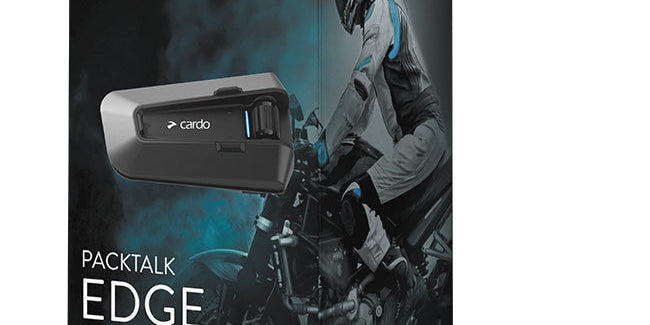
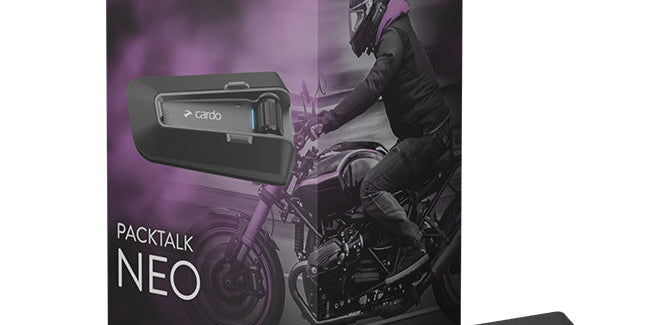
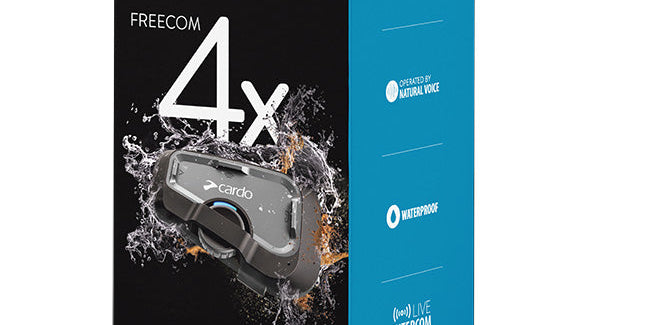
If you have a helmet communication system like Cardo, you will want to ensure it is still in prime working order come spring.
Just like your motorcycle battery, your intercom battery also needs periodic charging. Your battery naturally discharges over a long period of time, even when the unit itself is switched off. This leakage is common and expected. Don’t leave your battery empty for long, otherwise, you’ll find its full capacity has diminished when you finally take it out of storage and charge it. As a rule, try to charge your communicator battery at least once a quarter.
Although it’s typical for your battery’s capacity to decrease gradually, we aim to have you enjoy the best experience with our Cardo products. Should you encounter any unexpected or rapid battery degradation, please let us know by reaching out to our customer support.
In Summary
Winterizing is more than a chore. We would argue it is a way to save you from future repair bills, or a bike that won’t start on the first fine day of spring.
By following these 12 winterizing steps, you and your motorcycle can stay warm and safe in the knowledge that you are ahead of the maintenance curve, with more dollars in your pocket, and less stress in your 2-wheeled future!
And that surely deserves a hot-chocolate cheer!

